Ready for production.
* Full package contains contents as described. PC not included.
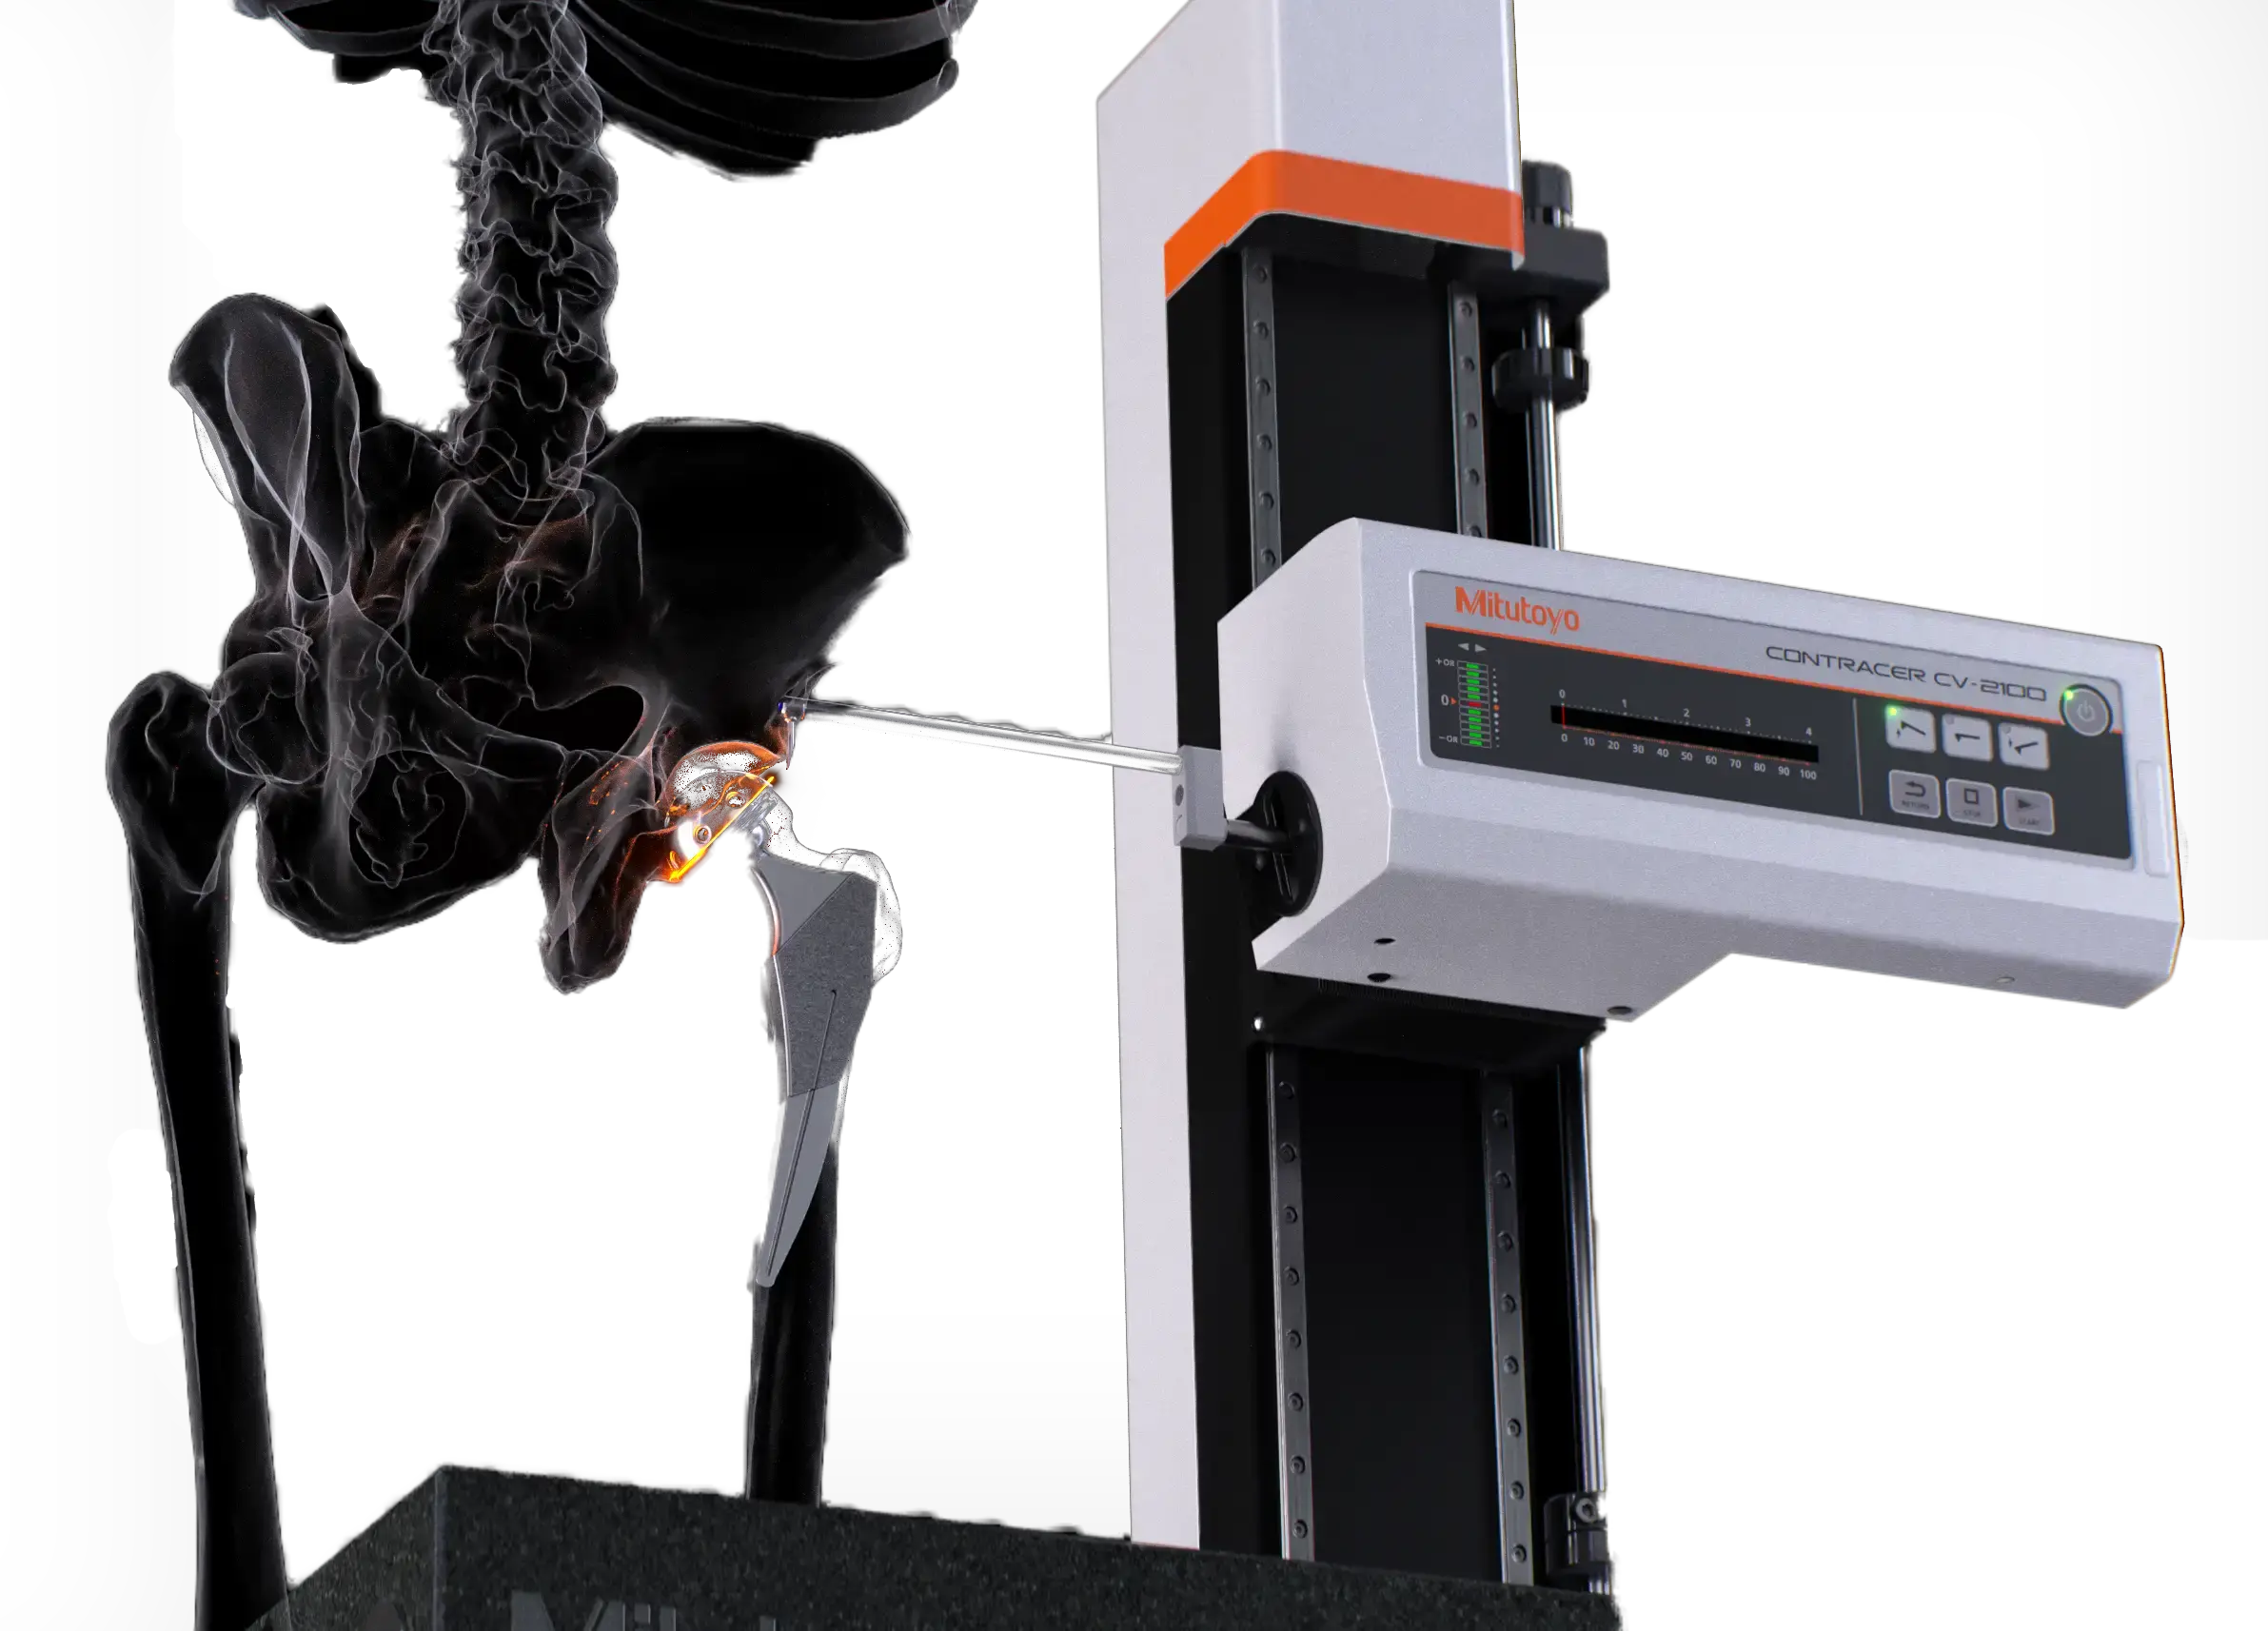
BUILT FOR COMFORT
COMPLETE KIT BUNDLE FROM:
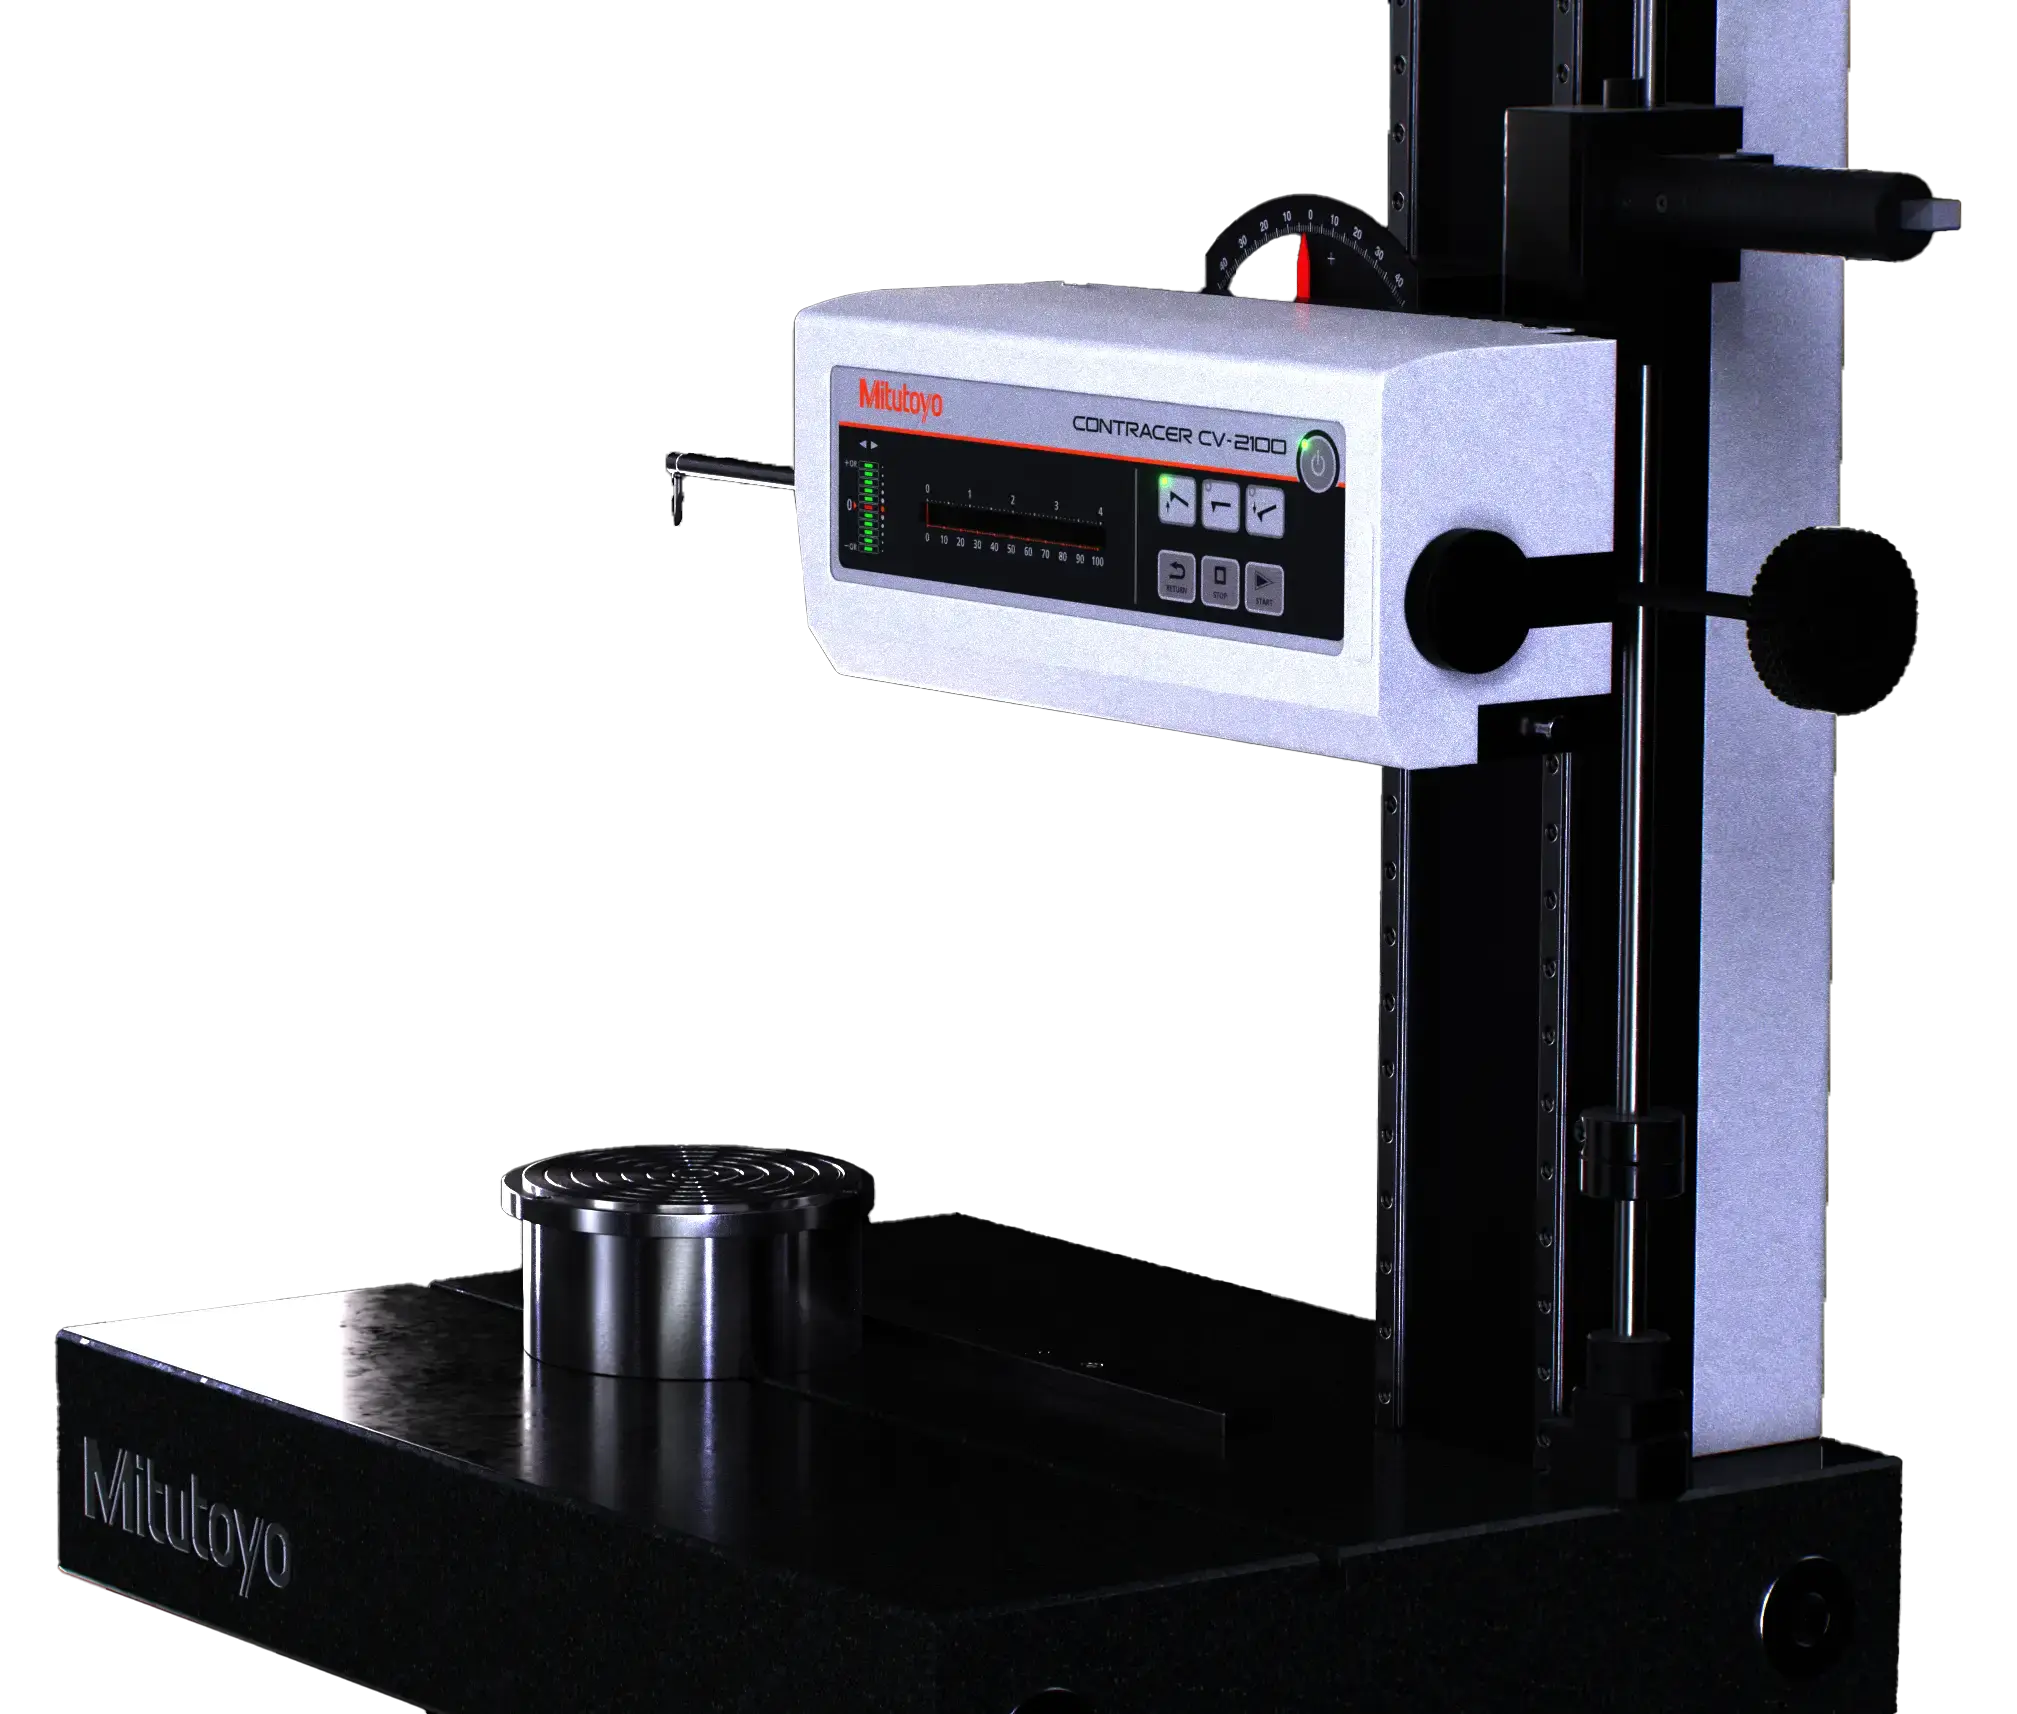
EASY PROGRAMMING.
FAST EXECUTION.
HIGH PRECISION.
COMPREHENSIVE CONTOUR MEASUREMENT.
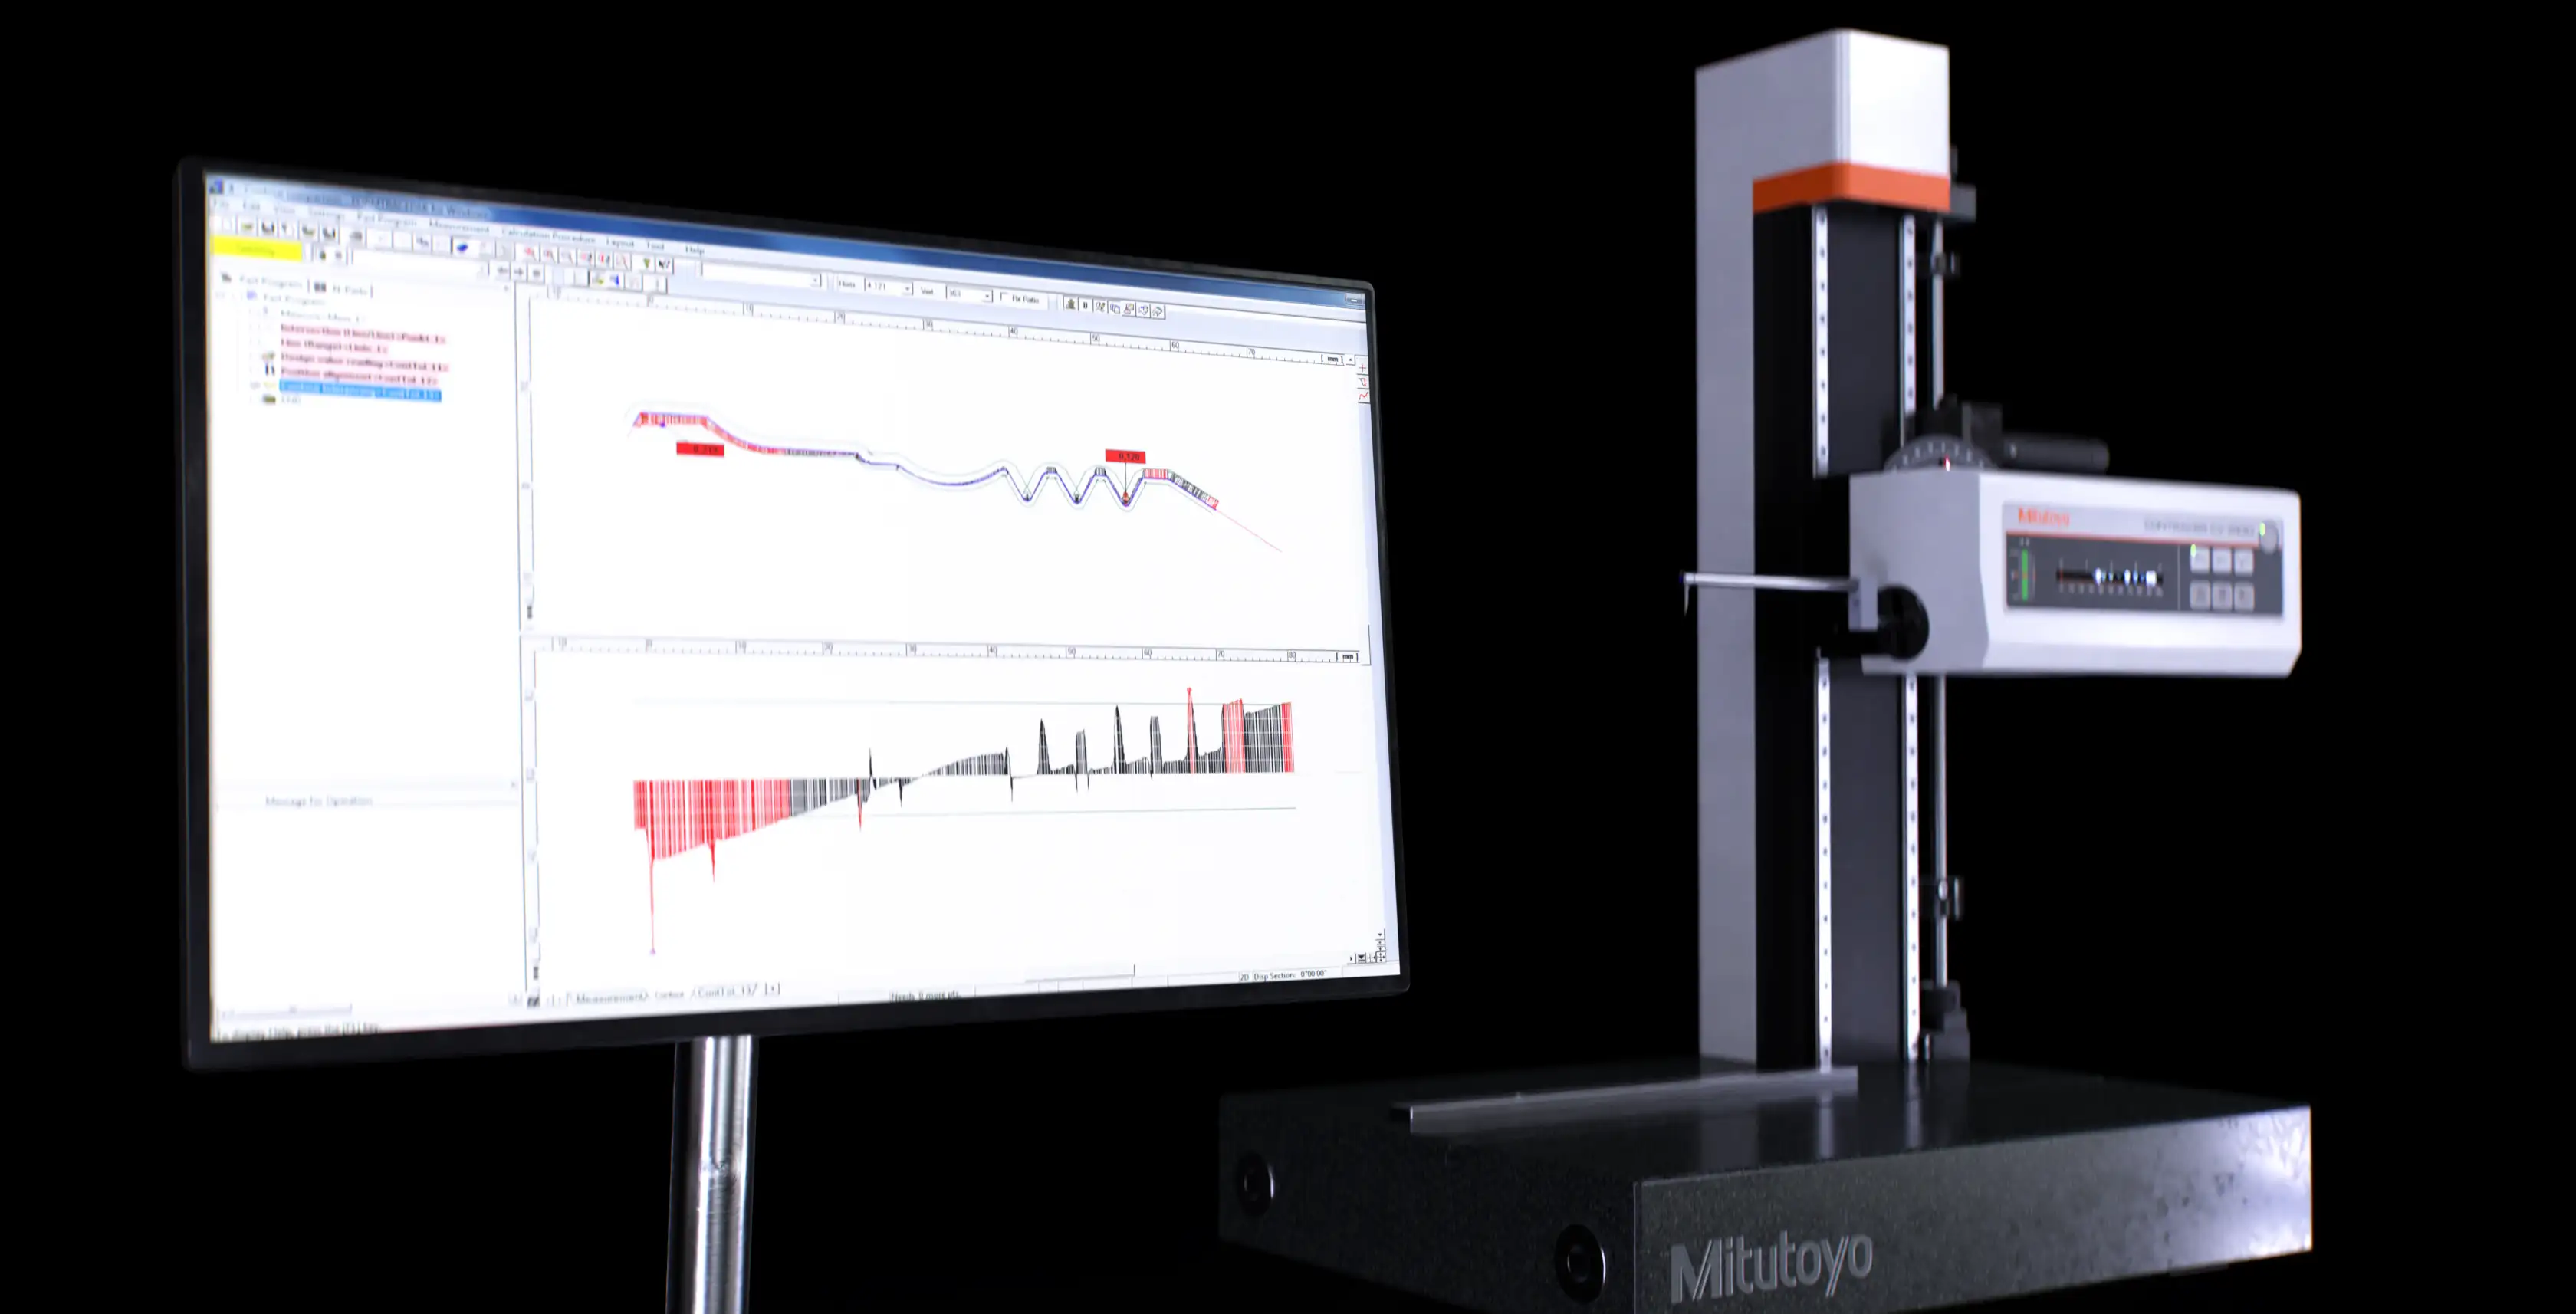
RELIABLE & TRACEABLE
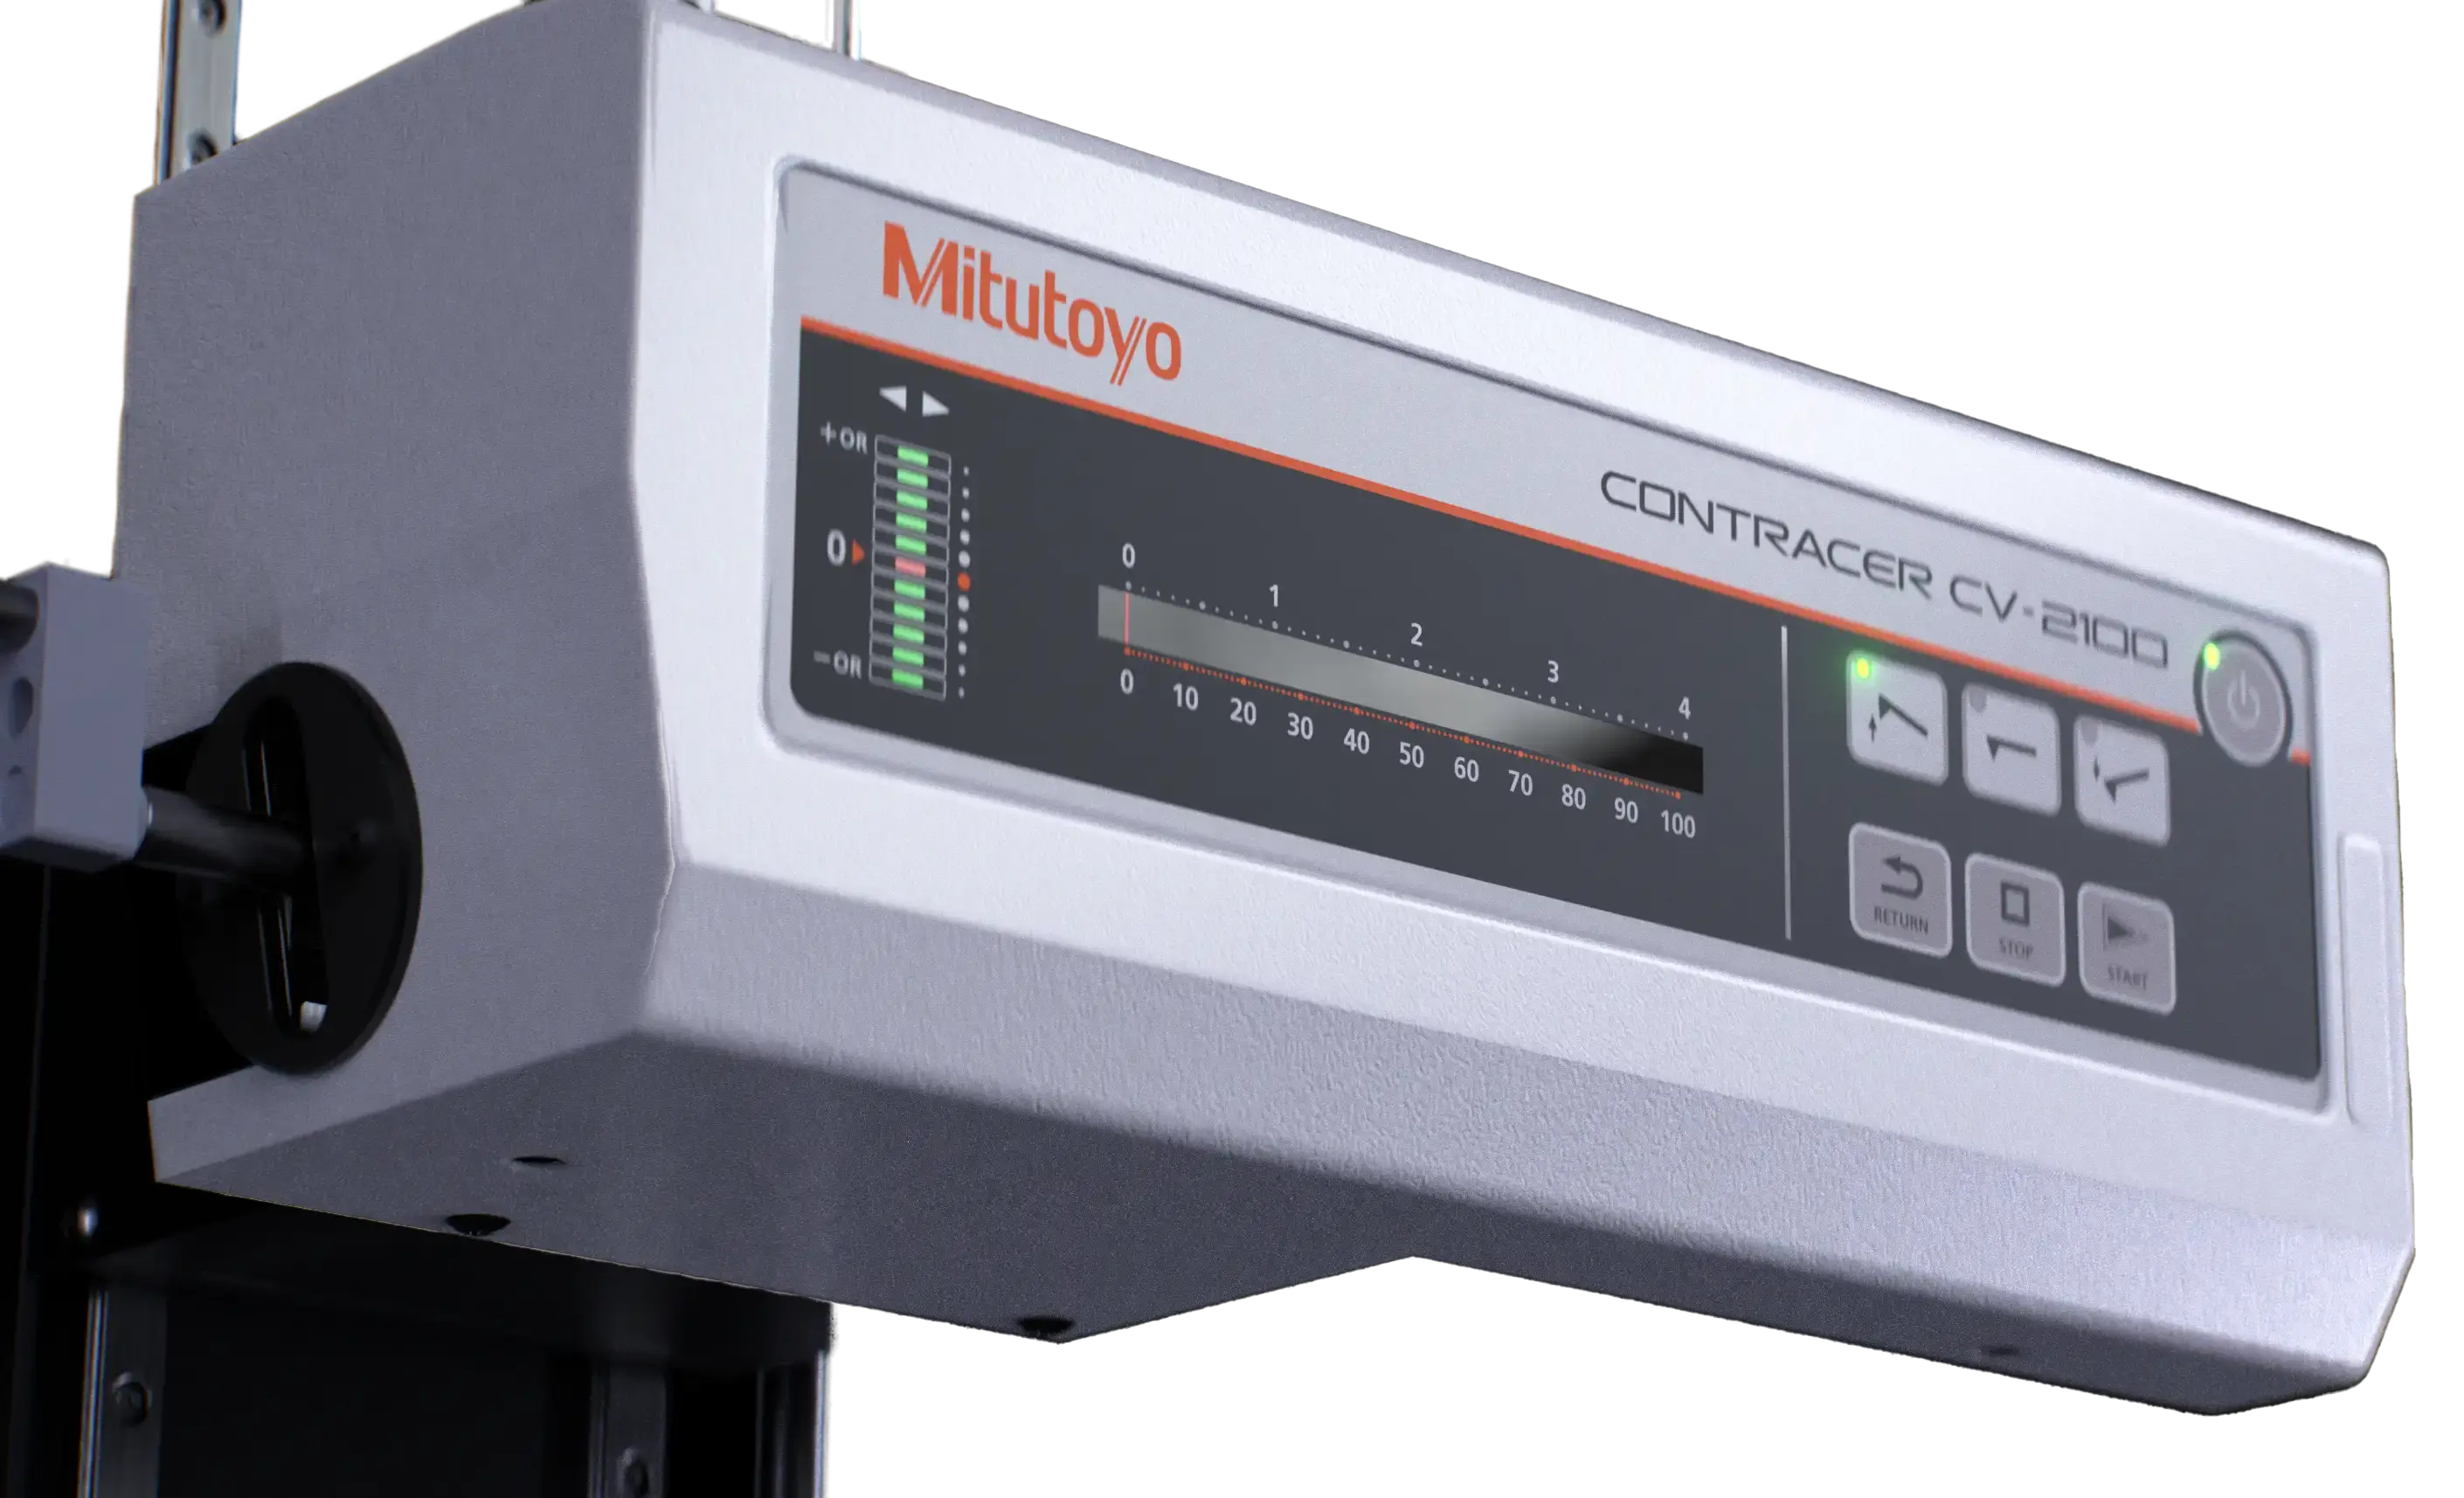
JOIN OUR WEBINAR
EFFORTLESS PRECISION
Easy handling meets high accuracy. Accurate and fast geometric evaluation and analysis.
COMPACT POWER
Accurate measurement in a footprint that fits any workstation.
SMART REPEATABILITY
Automate batch checks with one-click repeat functions and stylus lift.
TRUSTED SOFTWARE
FORMTRACEPAK delivers 30+ years of refinement, with no add-ons or surprises.
FAST RAMP-UP
Operators are up to speed in 1–2 days with intuitive workflows.
CAD-DRIVEN
Overlay DXF files live, with colour-coded tolerance bands for clarity.
QC-READY
Export results to MeasurLink or CSV with zero formatting hassle.

THAT FITS YOUR NEEDS
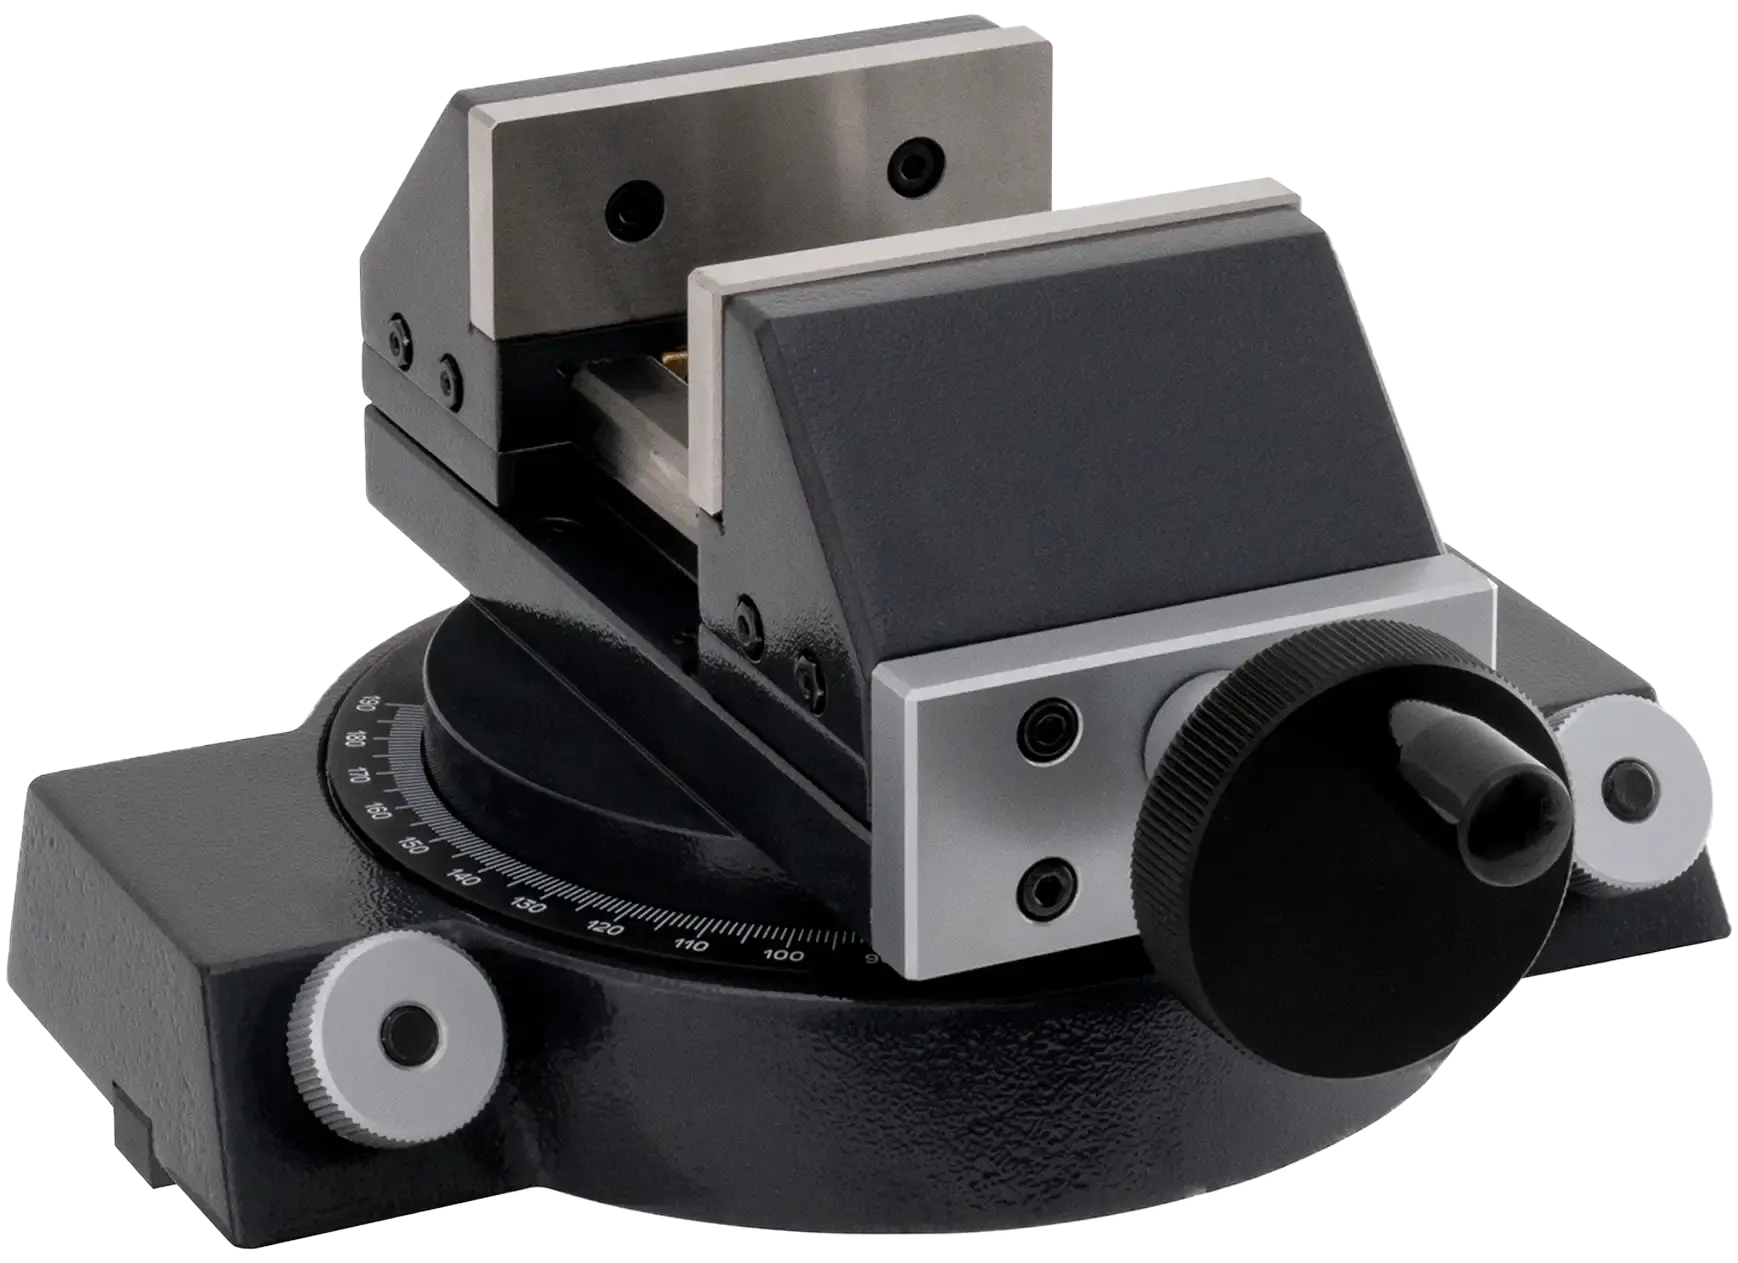
ROTARY VICE
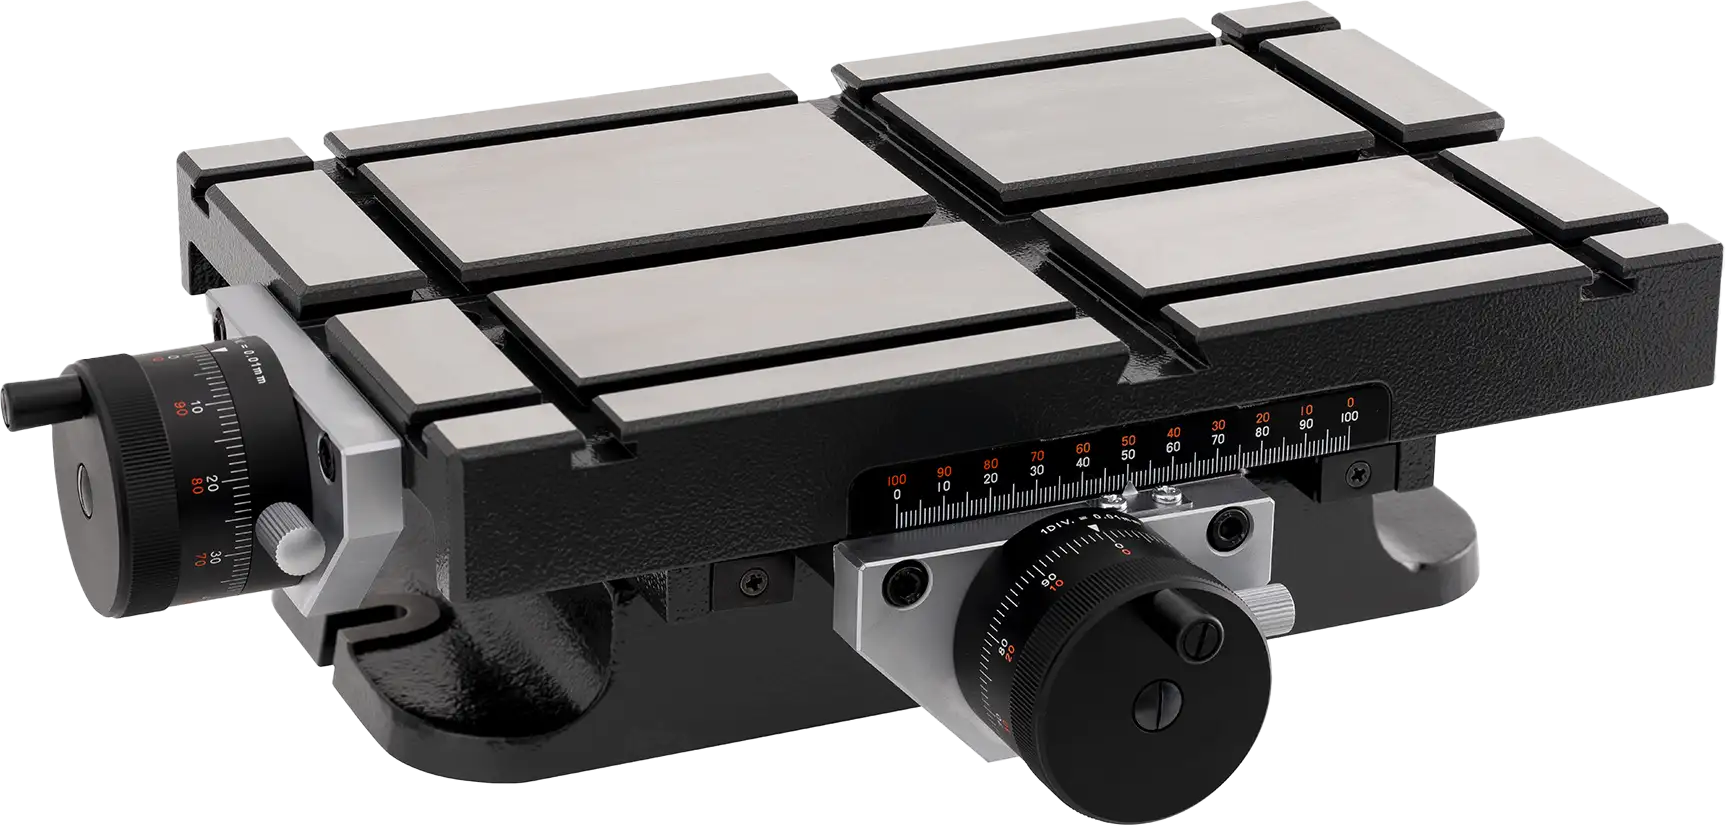
CROSS-TRAVEL TABLE

"Our decision to rely on Mitutoyo stemmed from the need to find a reliable partner in terms of quality, after-sales support, and the ability to meet the quality standards required by our end customer.
Currently, we have implemented three Mitutoyo measuring machines at OMGM Group: an Apex V 9108, an Apex V 9168, and a MiSTAR 555. The goal was to ensure in-process inspections, supported by the contributions of our machine tool operators—essentially integrating quality control into production.
We found the software to be very intuitive and user-friendly, even for beginners or first-time users.
By bringing all these factors together, we identified Mitutoyo as the right partner to meet both our production and quality requirements."
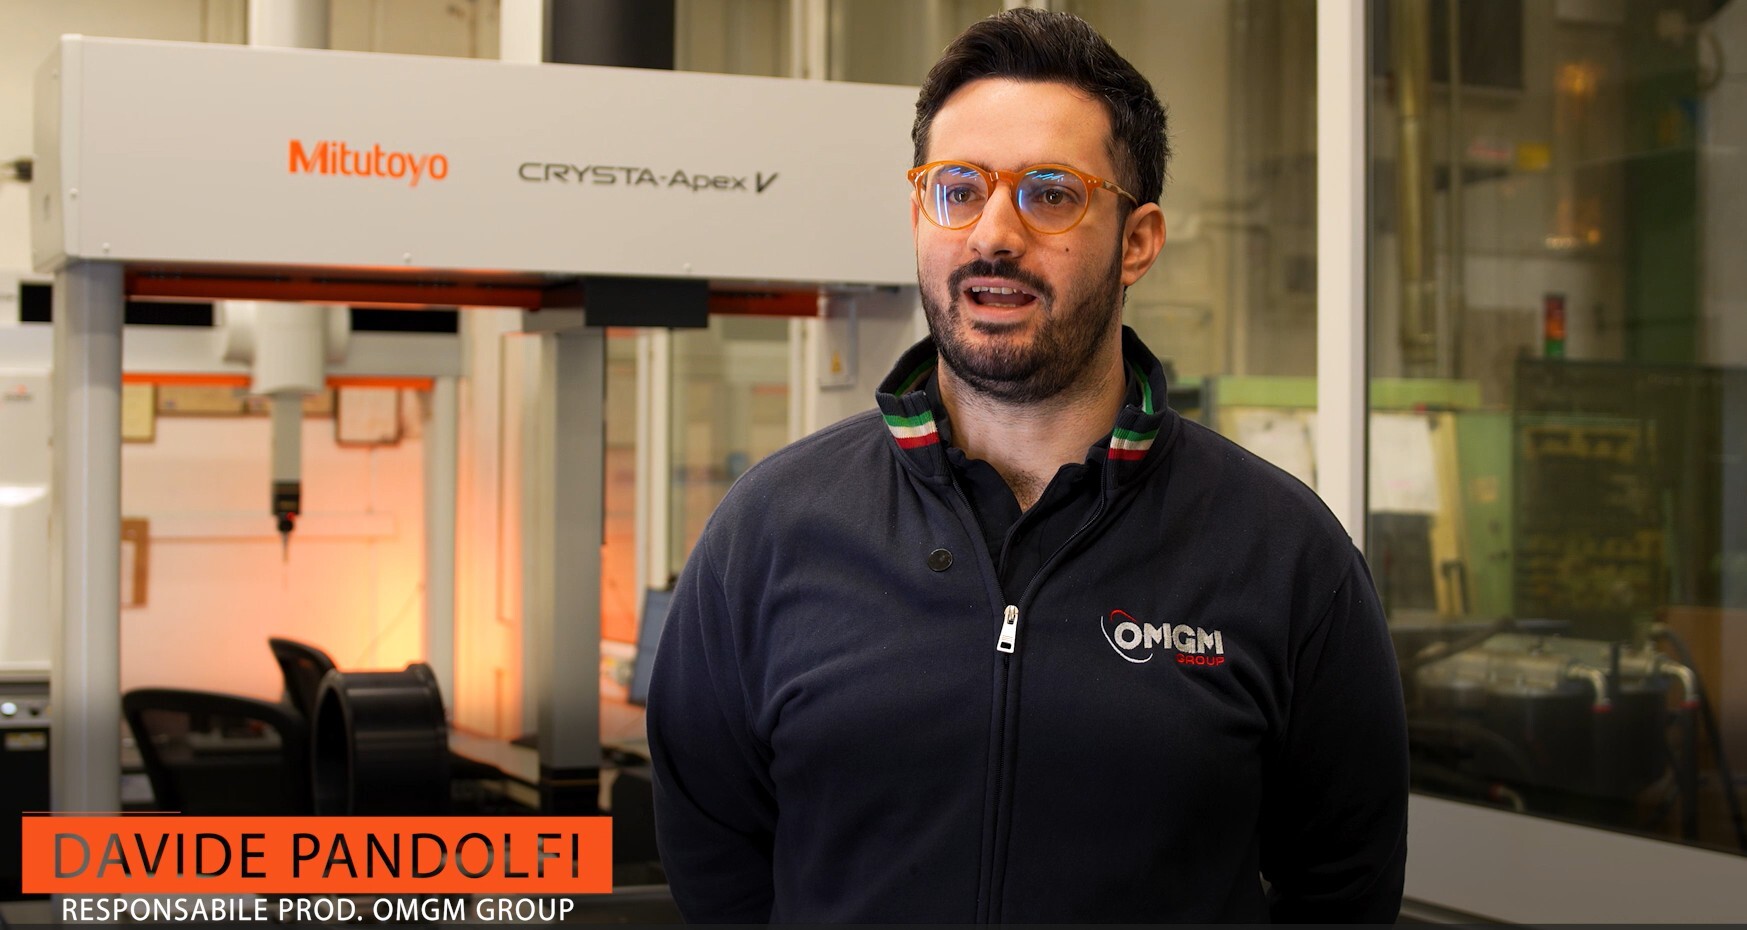
Production Manager | OMGM Group
The CV-2100 is a 2D profile measuring machine designed to evaluate radii, chamfers, grooves, angles, and steps. It's ideal for high-precision contour measurement on turned, ground, or moulded parts.
A contour measuring machine is used to capture, analyze, and verify surface geometry across defined profiles. Common applications include transitions, threads, arc lengths, and step heights.
This stylus tracing system maps surface contours in the X and Z1 axes using a digital arc scale and CNC-controlled movement. FORMTRACEPAK processes this data with tools for CAD comparison, tolerancing, and geometry analysis.
Contour measuring machines like the CV-2100M4 use 0.1 µm resolution and stylus radius compensation to deliver precise measurements of even small chamfers and internal radii. These features ensure reliable contour verification.
This form measuring device is built with a granite base and intuitive manual Z2 and CNC X and Z1 controls, making it stable and operator-friendly. It fits well into line inspection areas.
FORMTRACEPAK powers the entire contour workflow from measurement to CAD comparison to report. It includes tools for arcs, angles, and radii, plus repeat routines, DXF support, and multi-language options.
Stylus-based systems excel on hard or structured surfaces where tactile contact provides reliable data. Ideal for cams, dental threads, bearing seats, and precision-formed plastic parts. In addition, internal measurements can be carried out without any problems.
The automated contour analyzer can combine segmented measurements into a single profile using its best-fit algorithm. Helpful when full features can't be captured in one pass.
A digital profilometer typically measures surface roughness, while a contour measuring machine evaluates geometric form and profile. The CV-2100M4 delivers full 2D contour analysis with higher resolution and stylus path tracking.
This CNC contour machine supports direct DXF and IGES imports, enabling real-time overlay of nominal CAD against live trace data. Tolerances are visualized with deviation bands for fast evaluation.
The stylus tracing system operates at a resolution of 0.1 µm on both X and Z1 axes. This supports fine-feature analysis across its 100 mm × 50 mm range.
Most users are production-ready within 1–2 days. FORMTRACEPAK's workflow, jog shuttle, and simple UI reduce training needs significantly.
The CV-2100M4 integrates easily into digital QA workflows with MeasurLink SPC and repeat command support.
Tactile profile measurement delivers traceable data unaffected by lighting, reflectivity, or surface texture. Stylus systems like the CV-2100M4 can capture deeper or internal contours that optical tools may miss.
This precision contour measurement system uses a high-resolution arc scale, granite base, and smooth drives. Combined with stable stylus force and repeat routines, it ensures reliable, consistent results.
ENTER THE NEXT LEVEL OF EXCELENCE.
UPGRADE TO PRO-PRODUCTIVITY.
Special offer from:
18.550 € *
with cross-travel table and rotary vice